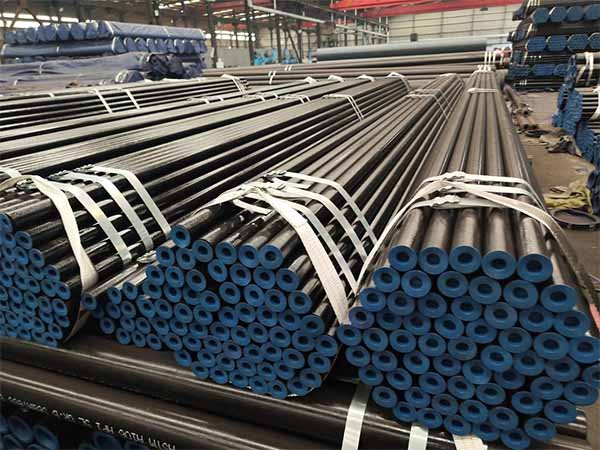
Seamless steel pipes are widely used in industries such as oil and gas, power generation, automotive, and construction due to their high strength and reliability. To ensure consistent quality and safety, each steel pipe must undergo a rigorous quality inspection process before delivery. This article outlines the main inspection procedures and standards for seamless steel pipes.

1. Appearance and dimensional inspection (Visual Inspection)
The first step in the inspection process is visual inspection. Inspectors check for surface defects such as cracks, overlaps, dents, or oxide scale.
Dimensional inspection ensures that the outer diameter, wall thickness, and length meet the tolerances specified in standards such as ASTM A106, ASTM A53, or API 5L.
2. Chemical composition analysis
Chemical composition analysis is primarily used to verify whether the chemical composition of the steel meets the required grade. This test is typically performed using a spectrometer or light emission analyzer. The content of elements such as carbon, manganese, sulfur, phosphorus, and silicon must be within specified limits.
Direct-reading spectrometer: Analyzes major and trace elements (such as Sn, Nb, As, Pb, etc.) including C, Si, Mn, P, S, Cr, Mo, and Ni; suitable for bulk samples.
Infrared carbon-sulfur analyzer (C-S analyzer): Specifically used for detecting carbon and sulfur in iron-based materials.
Nitrogen-oxygen analyzer (N-O analyzer): Quantitatively measures the content of gaseous elements N (nitrogen) and O (oxygen).
3. Mechanical property testing
Mechanical property testing is crucial for confirming the strength and toughness of pipes. Common tests include:
Tensile test: Measures yield strength, tensile strength, and elongation.
Hardness test: Assesses the material's resistance to deformation; Brinell (HB), Rockwell (HRC), and Vickers (HV) hardness tests determine the material's wear resistance and the effectiveness of heat treatment.
Impact test (Charpy impact): Checks toughness at different temperatures, especially suitable for low-temperature applications.
4. Non-destructive testing (NDT)
Non-destructive testing methods can detect internal or external defects without damaging the pipe. The most commonly used technologies include:
Ultrasonic Testing (UT): Used to detect internal defects; requires a coupling agent.
Eddy Current Testing (ECT): Electromagnetic induction monitoring of point defects; used to detect surface cracks and discontinuities.
Magnetic Particle Testing (MPI): Used to test ferromagnetic materials.
Hydrostatic Testing: The pipe is filled with water and pressurized to check for leaks or defects.
5. Dimensional and straightness verification
Advanced measuring tools and laser systems are used to ensure that the roundness, straightness, and wall thickness uniformity of the pipes meet precise standards, thus guaranteeing perfect assembly of the piping system.
6. Marking, certification, and packaging
Each seamless steel pipe is marked with the furnace number, size, grade, and standard after passing all tests. A Factory Test Certificate (MTC) is also issued, detailing all inspection results and confirming compliance with international standards. Finally, the pipes are properly packaged to prevent mechanical damage or corrosion.
Conclusion
The quality inspection process for seamless steel pipes ensures that every product delivered to the customer meets stringent international performance and safety standards. Through precise testing and advanced inspection technologies, manufacturers can ensure that their products have high reliability, consistency, and long service life in critical applications.
Read mroe: Precision seamless pipe
