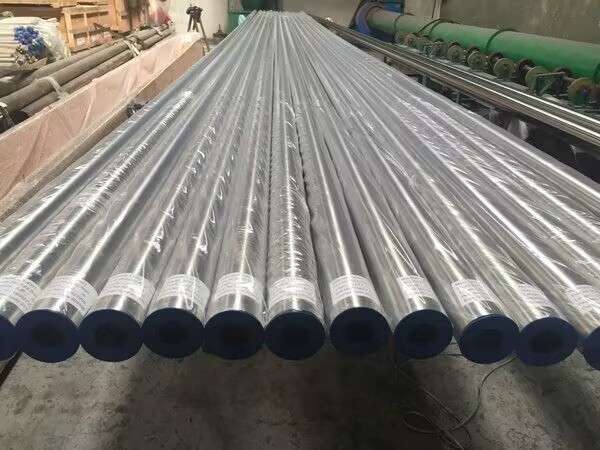
The hardness test of seamless steel tube is one of the important means to evaluate its mechanical properties, which can reflect the deformation resistance and wear resistance of the material. The following are the commonly used hardness test methods and characteristics of seamless steel tube:

1. Brinell Hardness Test (HB)
Brinell hardness (HB) : with a certain diameter of carbide ball or steel ball, pressed into the surface of seamless steel pipe under the specified test force, maintain a certain time after measuring the indentation diameter, according to the formula to calculate the hardness value.
Test steps:
1. Prepare the sample to ensure that the surface is smooth and free of oil.
2. According to the material and hardness range of the sample, select the appropriate loading force and indenter diameter.
3. Place the sample on the Brinell hardness tester, load the specified force and hold it for 10-15 seconds.
4. Remove the loading force and measure the indentation diameter with a microscope.
5. Check the hardness value by formula or hardness table.
peculiarity
Advantages: Suitable for softer metal materials, the test results are more intuitive, can reflect the overall hardness of the material.
Disadvantages: The test needs to leave obvious indentation, not suitable for thin-walled tubes or precision tubes.
Application scenario: seamless steel tube for testing mild and medium
carbon steel is widely used in general industrial pipe inspection.
2. Rockwell Hardness Test (HR)
The conical diamond or steel ball indenter is pressed into the specimen surface under the specified load, and the hardness value is calculated according to the depth of the indentation. Rockwell hardness uses different scales to accommodate different hardness ranges of materials.
Test steps:
1. Prepare the sample to ensure that the surface is smooth and clean.
2. Select the appropriate indenter and load according to the material hardness.
3. Fix the sample on the Rockwell hardness tester and apply the initial load to eliminate the surface influence.
4. Load the main load, hold it for a few seconds and then remove it to read the hardness value.
peculiarity
Advantages: The test process is fast, suitable for different thickness of materials, can be divided into a variety of scales to meet the test needs of different hardness ranges.
Disadvantages: High requirements for surface finish, the result may be affected by the surface state.
Application scenario: Test heat-treated seamless steel tubes, especially for high and medium hardness steels.
3. Vickers Hardness Test (HV)
The Vickers hardness test is also an indentation test method, which uses a diamond quadrigonal indenter to press into the surface of the material under a specified load, and calculates the hardness value according to the diagonal length of the indentation.
Test steps:
1. Prepare the sample, the surface needs to be polished to eliminate the oxide layer and impurities.
2. Select the appropriate loading force (usually 1kgf~120kgf) and install the indenter.
3. Place the sample on the hardness tester, apply the load and hold it for about 15 seconds.
4. Observe the indentation through a microscope, measure the length of the two diagonal lines of the indentation and take the average value.
5. Calculate the hardness value according to the formula.
peculiarity
Advantages: High precision, suitable for the hardness test of small parts or thin-walled materials.
Disadvantages: The test time is long, the process is complex, and the equipment requirements are high.
Application scenario: For testing thin-walled seamless steel tubes or surface hardened layers, suitable for high-precision scenarios.
The differences are as follows:
1. Different measurement methods: the probe of Brinell hardness tester is steel ball, and the probe of Rockwell hardness tester and Vickers hardness tester is diamond.
2. Different scope of application: HB is mainly used for medium and low hardness materials, HR is the full range, but it needs a ruler, HV is mainly used for thin-walled pipes and small parts.
3. Different indentation characteristics: HB's indentation is large, which affects the appearance, HR's indentation is small, and HV's indentation is fine.
